Disclaimer: Some links on this page are affiliate links. We may receive a commission if you make a purchase through these links. See our full disclaimer here.
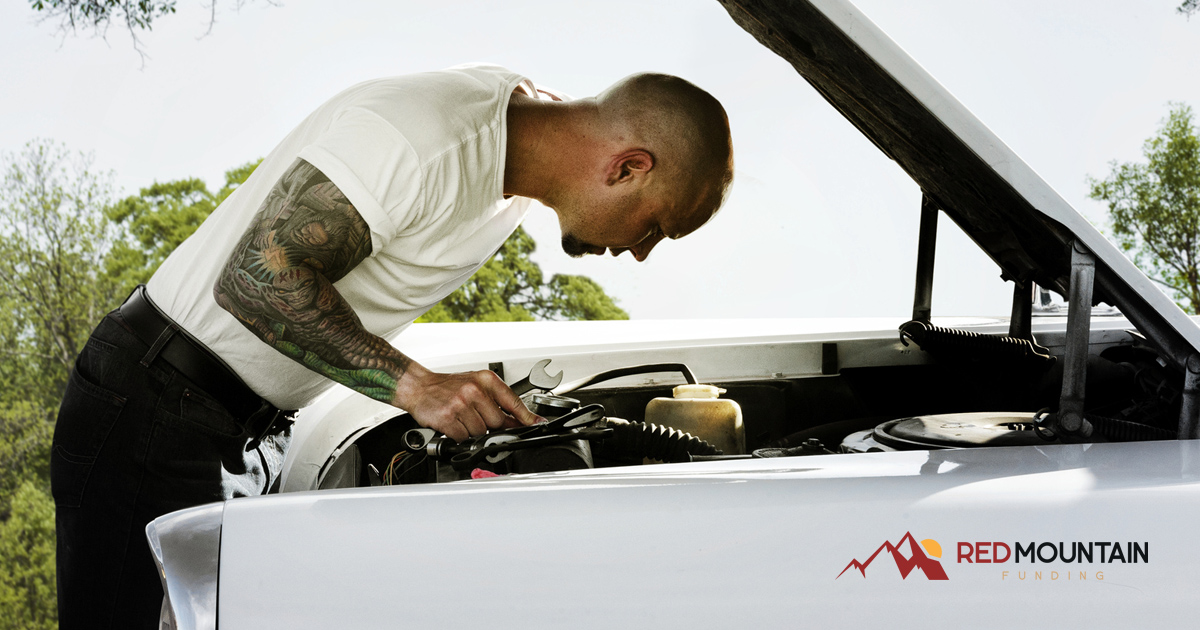
Fixing your own car has been somewhat lost to time nowadays. As cars get increasingly complex electrical systems with sensors and parts, many people might feel overwhelmed at the thought of fix your car yourself. The good news is that many of the small and common issues that cause your car to break down can actually be done yourself as long as you have the right tools.
Fixing your car can be a daunting task for some, but the process isn’t that difficult. Here, we’ll go through all the steps you’ll need to start taking care of your vehicle yourself without relying as much on a mechanic.
We’ll cover everything to help you get started taking care of your vehicle yourself! In this post we cover:
And answer all of your other DYI car maintenance questions:
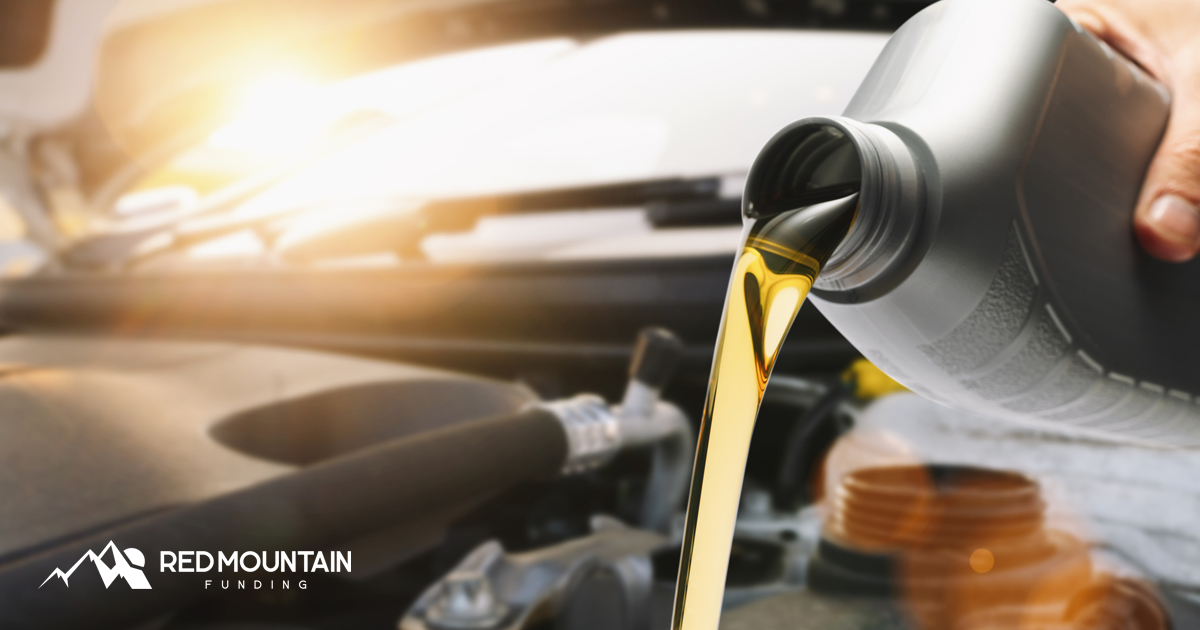
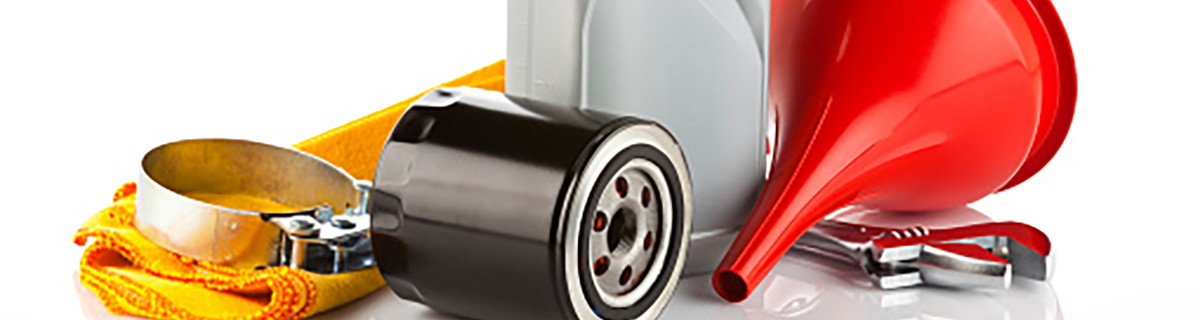
DIY Engine Oil Change
Changing your oil is actually really easy and can save you money in the long run.
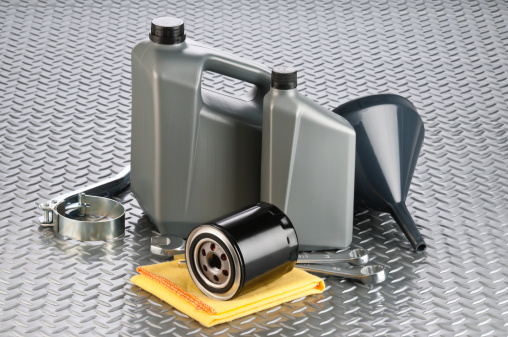
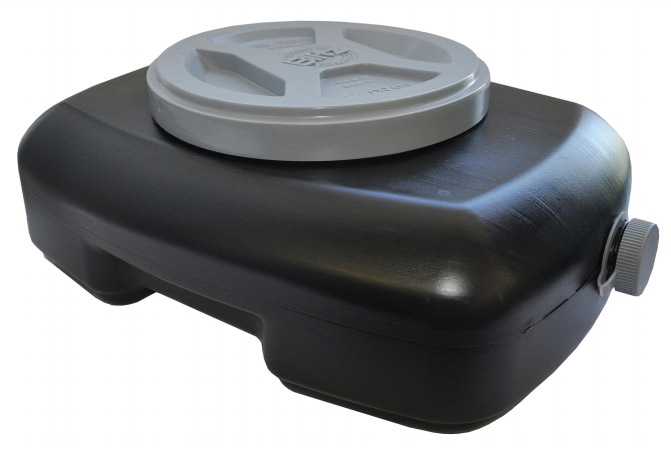
Before you get started, you’ll need a few things:
- One-to-two-gallon bucket/pan for old oil
- Wrench for the oil drain plug (Usually 3/8 inch)
- Oil to refill your vehicle (check manual for the amount)
- Funnel
- Bricks/stoppers (optional)
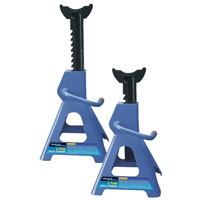
- Jack (optional)
- Oil Filter Wrench (optional)
- Oil Filter (optional)
Preparation
Before you start draining the oil, you’ll want to make sure you can reach the plug and that your pan/bucket can fit underneath the drain plug. If you cannot reach under your vehicle or the pan won’t fit, you might need to jack up your vehicle to access it. Make sure that if you jack up your vehicle, you have stoppers at the back of your tires that are still on the ground to prevent rolling. Once that is set up, open the hood and undo the oil cap—not the plug but the cap where you put your oil. Doing this will prevent a vacuum from forming when you are draining the oil resulting in slow or incomplete drainage of the old oil.
You’ll also want to make sure that your engine is cool. This doesn’t take too long, but you can risk burning yourself with hot oil if you don’t let it sit for a while. To make sure it is cool, you can quickly and gently press your hand to the oil pan where the drain plug is located. If it is not hot to the touch, you should be ready to continue.
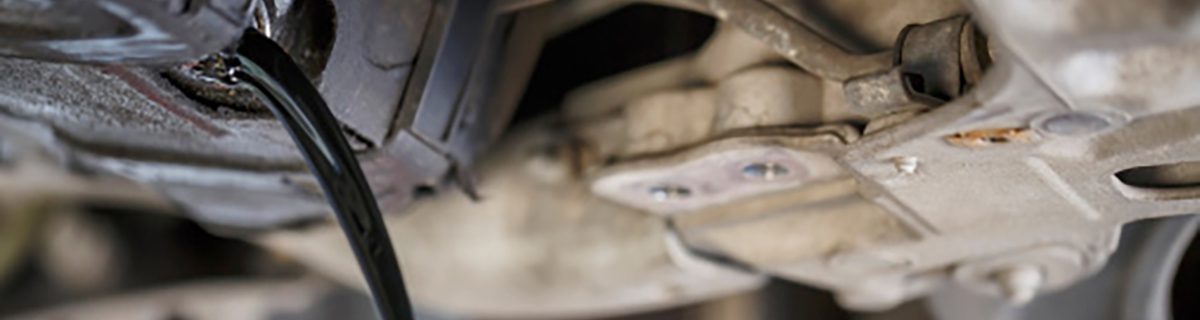
Draining The Oil
Once you have your bucket under the oil drain plug, slowly unscrew the drain plug. Let it drain a bit before you unscrew it completely to avoid getting covered in oil. When it starts to slowly drip out, you are free to put the plug back on and remove the bucket/pan with the old oil in it.
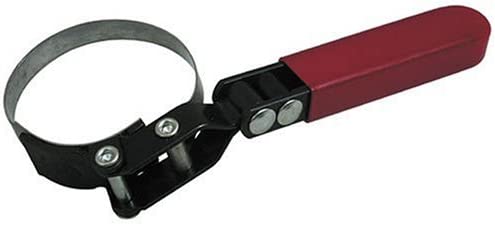
Replacing the Filter (optional)
Replacing the filter isn’t always necessary, but it should be done after every couple of oil changes. Above the oil pan (the part that you took the oil plug out of), there should be an orange or black-colored part. If you don’t know what an oil filter looks like, most auto part stores will have them readily available. Take the oil filter wrench, which should look like a thick metal belt around the oil filter and take it off. Then all you have to do is put the new filter back and tighten it with the wrench.
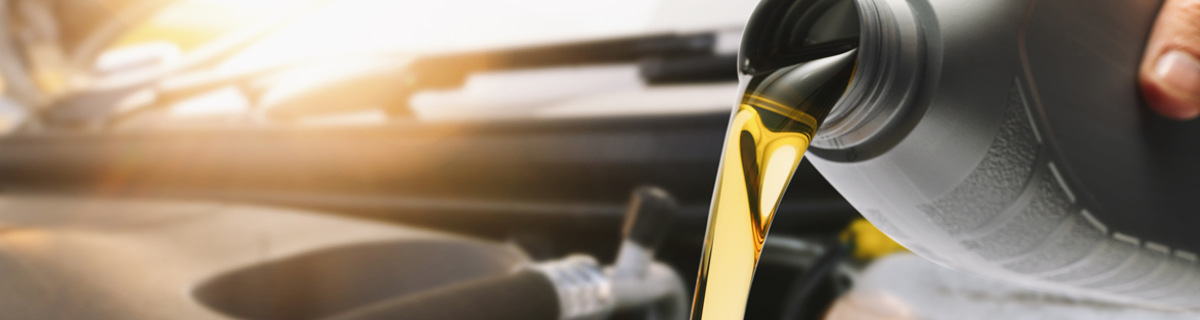
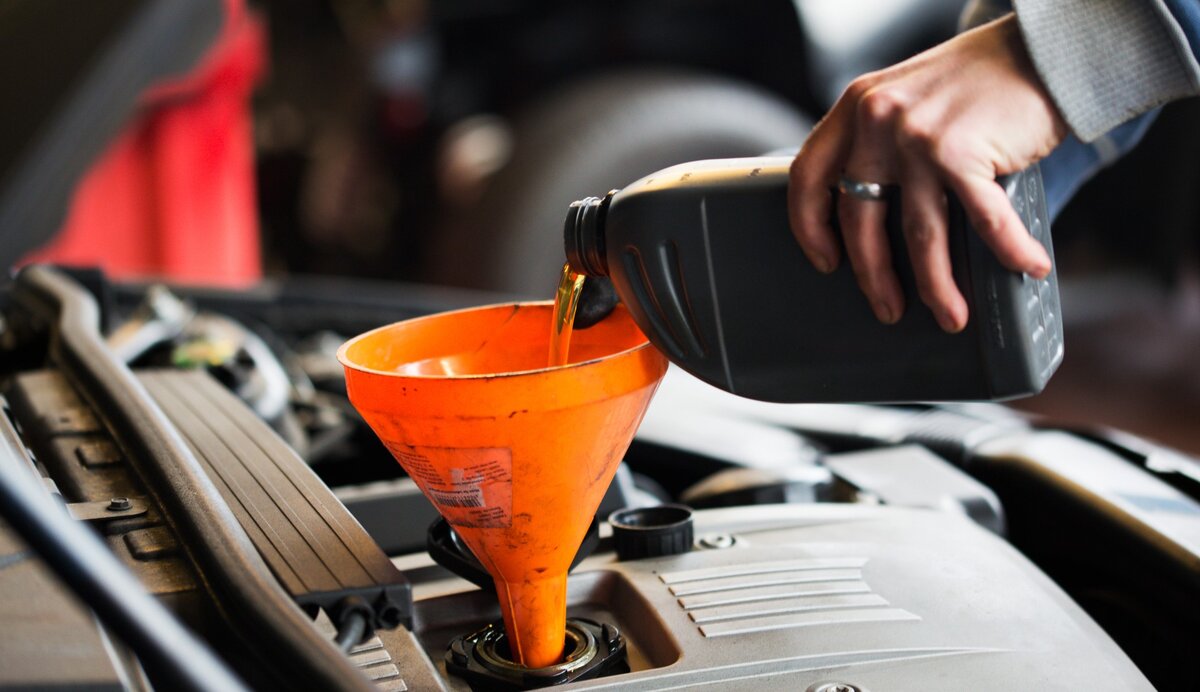
Refill The Oil
Once all the oil is drained out, you’ll need to refill it before starting it. The oil cap should be unscrewed still, so all you have to do is funnel or pour the new oil into your car. After you’ve poured the required amount in, screw the cap back on, close the hood, and lower your car back on flat ground before checking the oil stick after a few minutes. If it reads where it should be, you are done!
Changing your oil is really easy once you know how. The steps here outline everything you’ll need to do to get it done, but it likely won’t take you more than 30 minutes to complete your oil change.
If you’re doing your own oil change for the first time, click to check out our previous post to find out where you can buy for the right tools to perform your own oil change at home.
Is Fixing My Own Car Easy?
A lot of the difficulty in repairing a vehicle depends on the vehicle itself. If you own a brand-new current-year model vehicle, it will likely be harder to repair yourself. This is because electrical systems have gotten increasingly complex, and as a result less room to operate and more potential mistakes. Older vehicles—especially small vehicles—that are pre-millennia around 1995 and older will be easier to repair. Many auto part stores still carry all of the pieces to complete any job on these older vehicles, and they are often easy to work on.
Probably the most difficult repair step for a new or veteran mechanic is diagnostics. Trying to figure out why your vehicle is not running, making a noise, or any other problem can be harder than actually fixing it. Older cars have fewer sensors so they can be easier to diagnose, but it doesn’t change the fact that diagnostics will be the most difficult part of fixing your vehicle.
Experience plays a lot in diagnostics. As you get more familiar with your vehicle and what sounds or problems indicate what problem, you’ll become an increasingly better mechanic. If you started with older vehicles, a lot of the problem-solving transfers to new models so long as you know what and where to look for information.
How Do I Start Learning To Repair Vehicles
If you are interested in learning how to repair vehicles, how much you invest at the start will be the deciding factor. If you are looking to make it more of a career than a hobby, try to find a mechanic shop that is hiring or look for a course in vehicle repair. If you are looking to make it more of a hobby or want to have the skills to repair your own vehicle rather than rely on a mechanic, here are a few crash-course tips:
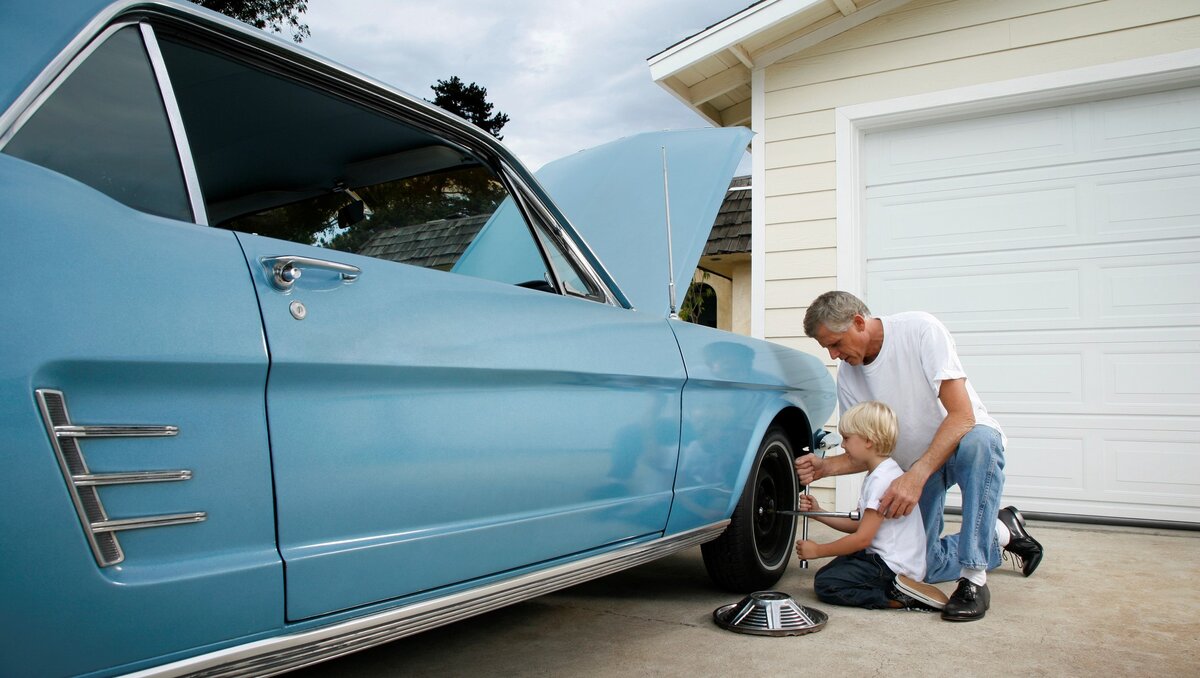
1. Buy an Old Car
You will need somewhere to hone your mechanic skills, and an old clunker is the best place to start a crash course.
It will be more expensive, but it’s best if you can find an older vehicle that still runs. Ensuring that it runs—even if it’s just barely off the lot—means that you have a bit of a template to work with. It also means that there is nothing so terribly wrong with it that the place you bought it from couldn’t repair it either. If you bought a rust bucket or a car that has been sitting for a long time, you might be trying to bite off more than you can chew. You are looking for something that is old but still has the bare minimum parts with it to run and will be reliable with a bit of work.
Here are some makes and models that are old but are reliable:
- Buick Roadmaster (1991-1996)
- Subaru Wagon (1990-Present)
- Toyota Corolla (1996-Present)
- Ford Ranger (1983-2011 2019-Present)
- Geo Prizm (1984-2010)
- Jeep Cherokee (1987-2001)

You might not be able to find one of these makes or models available immediately, but they are some of the most reliable in the market’s history. When you look for an older car, mileage is less relevant than it running or any serious issues.
2. Buy Some Tools
Tools are a mechanic’s best friend and the things they need to do their craft. Most repair jobs can be done with a set of standard wrenches, a small set of metric wrenches, a few screwdrivers, and some pliers. It is also recommended to get yourself a multimeter, a jack, some blocks or bricks, a set of sockets, a torque wrench, and a tire iron. With these tools, you should have everything you need to work on your vehicle.
3. Gather Information
Since you are just starting your journey into mechanic work, you will want to have some information about your vehicle and the process of repairing it.
Repair manuals are factory-made instruction manuals that cover just about any repair you would want to do and how to do them. These instruction manuals can be bought online or in part shops, and they have information on where a part is located and how to get to it if you are ever lost. As long as you know a little bit about the inner workings of your car and know what part you need to replace, you can follow the guide step-by-step to complete the repair.
YouTube is an excellent source, but don’t rely on it too much. Keep in mind that their process and way of doing things might be different than what is recommended, and you should always take their information with a grain of salt. Cross-checking with other sources such as another YouTube creator or a repair manual can help ensure that they include all of the steps in the process.
4. First Things to Check on Your Old Car
After you have your car, there will be some things you should check ASAP. The main reason for this is that many places that sell these cars fix them just barely enough, so they run. This means that it likely won’t last you long if you don’t get started working on its immediately, which makes it the perfect learning tool.
Here are the first things you should check either before or after your purchase:
- Oil
- Battery
- Sparkplugs
- Radiator Coolant
- Fuses
- Tires
- Belts (Timing, Drive Belt, A/C)
If you know where to look, checking these things may only take you 30 minutes at most. You should ensure that the oil isn’t thick or gunky as that means it was sitting there for a long time and you risk putting a hole through a cylinder driving it. Whether it is thick or not, you should change the oil and oil filter ASAP on any old vehicle.
Your timing belt is an integral part of your vehicle. No matter the state of your vehicle, do NOT force your timing belt to turn. You can bend your valve stems doing that, and, at that point, fixing it might be more of a hassle depending on if it is an interference or non-interference motor. Simply check to see if it is worn down or starting to crack. This is one of the few parts that you will likely want to take to a mechanic to get fixed, as messing with it can seriously damage a motor.
You should also make sure that your alternator is working along with your battery. If the alternator is faulty, you may end up needing a new battery sooner than expected. You can do this with a multimeter by comparing your battery voltage when it is idle to the battery voltage when it is running. Ideally, your voltage when idle should be 12.4 or above and 13.7 to 14.7 when running. There is likely going to be some play in the range between the two, but you should make sure that it is not low either when running or idle as you might need a new battery or a new alternator.
Once you have these checked, you have started your crash course as a self-taught mechanic!
5. Safety First
Being a mechanic is not an easy job. There are many people in the field of mechanics that have been seriously injured. To avoid injury, always make sure that the negative battery cable is disconnected to prevent electric shock and that the vehicle is stable. Having a vehicle roll while you are under it or fall on you is one of the biggest causes of death and injury for a mechanic.
Always make sure that your safety is secured to prevent disaster.
How Much is Maintenance for a Car?

A lot of the cost that you pay for a mechanic is labor. Usually, mechanics have a chart that tells them how long it should take to repair the issue then they charge you by the hour plus the material cost. Most mechanics can charge anywhere from $150 to $50 an hour for the job. They then multiply it by how long it takes to fix the part. Changing your oil doesn’t take that long, so the labor cost isn’t very noticeable, but once it takes a few hours to repair, the price goes up exponentially. This can mean that on some jobs, you are looking at paying way more than what is necessary to fix the part if you did it yourself.
Furthermore, older American cars are usually cheaper to repair than others. Parts from your home country don’t come with import costs, so the overall price of parts gets almost halved in the process. So, the cost of maintenance is directly correlated to how you get it repaired. Generally, don’t expect to pay less than $75 getting a mechanic to do something, even if it is extremely simple such as an oil change. Even a belt change can cost hundreds, while doing it yourself is less than $20.
The average cost of maintenance for a vehicle per year is $900-$3000, depending on where you live, type/model of your car, and whether you do it yourself.
Is it Worth Fixing Your Own Car?
Yes, in most cases, it is. You already know about labor costs from earlier in this article, so you know that getting something done can be much more expensive than doing it yourself. It all depends on what you need done and the amount of time it takes to do it. Changing something such as the oil, alternator, or starter is relatively quick and easy, so getting a mechanic to do it isn’t that much more of a cost, but it gets exponentially more expensive once the time it takes to have it done goes up. The drive belt might take them an hour or two to change, meaning you are paying anywhere between $100-$300 in labor costs while the part is less than $20. It all depends on what you need done and how much time you are willing to put into fixing it yourself.
What Car Maintenance Can I Do Myself?
With the right tools, you can do pretty much everything to repair your vehicle as long as you know-how. There are very few repairs that a mechanic is required to do, but it is important to know about them.
Cylinder, Valve Stem, or Head Maintenance is an extremely complex task that a novice shouldn’t undergo without training. A mechanic will have a much better success rate at getting your car back on the road.
Timing Belt is another one that you should have a mechanic do. We mentioned this earlier, but your timing belt is an integral part of your motor. The cylinders and valves are all connected to the timing belt, and turning it or getting the timing off can completely destroy the motor.
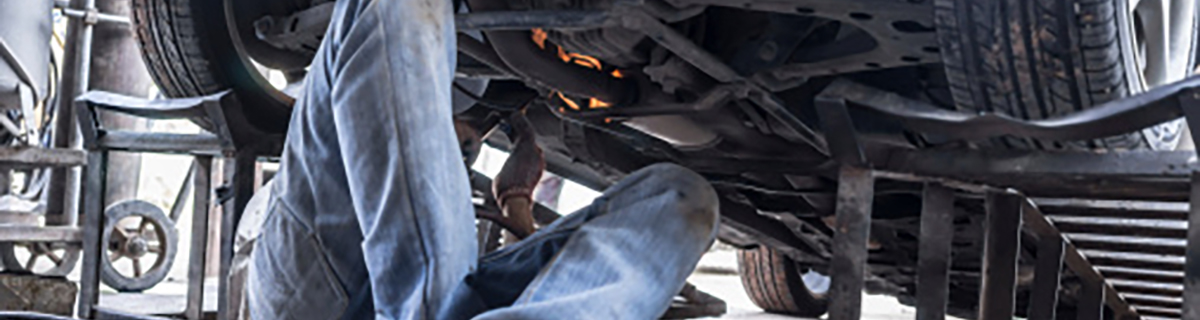
Undercarriage Maintenance is actually pretty easy; the problem is that you pretty much need the entire vehicle off the ground in order to perform it. This means having access to a lift that can give you the necessary space to work.
Engine Swap is another that requires tools that novices likely won’t have and knowledge on how to disconnect and reconnect your entire motor. Even then, it is not an easy task to pull off, so getting a mechanic or having someone help you is a good idea.
Serious Electrics Maintenance. We’re talking about things like computer setup and major wiring jobs. If you have the time, you could do them yourself, but you risk seriously messing up your motor.
Most of these you can do yourself if you have the experience necessary and the tools to do them, but if you are just starting out, you can seriously damage your motor or yourself attempting these repair jobs.
More Tips and DIY Car Hacks
Here at Red Mountain, we care about providing quality content for car lovers and those looking to maintain and protect their automobile investment. We create and share new DIY car hacks regularly, so be sure to subscribe to our monthly newsletter to never miss an alert!
And, if you love cars as much as we do, head on over to our car lovers merch shop to check out our custom swag. From stickers to trucker hats and muscle tanks, we have something for every gear head and speed racer.
I’m a kid at heart disguised as an auto researcher and business owner. I’ve always enjoyed providing insight in the form of reviews (anime, video games, autos, etc.) When I’m not researching, I’m spending time with my family, driving my Dodge Challenger, riding my motorcycle, and finding new entrepreneurial pursuits.
View all posts by Chris Weatherall →