Disclaimer: Some links on this page are affiliate links. We may receive a commission if you make a purchase through these links. See our full disclaimer here.
Why You Don’t Have to Pay Premium Prices for Your Oil Change
Car maintenance doesn’t have to be a drain on your wallet. If you’re looking for the cheapest oil change, it may be closer than you think. More and more people each day are learning how to do a DIY engine oil change in their own garage or driveway. In fact, it’s one of the simplest parts of automobile maintenance to do at home, is truly a money saver, and doesn’t require a lot of tools or highly specialized skills. When even a Walmart oil change can cost $50 and up, it makes a lot more sense to spend a little bit of time, and much less money, on keeping your mode of daily transportation up and running. Failure to regularly change the motor oil being the leading cause of engine failure, it truly is the best way to maintain and extend the life of your vehicle. Here’s what you need to know to get started on your oil change at home.
DIY Oil Changes Vary by Car Brand
Different makes, models, and years of vehicles have different oil capacities in their motors. Most of the average passenger vehicles use around 5 quarts, with larger vehicles typically requiring a little more. For example, a late model Honda Civic has a capacity of 3.9 quarts, while a similar year of Subaru Outback would need 5.1 quarts. A Honda Ridgeline, or similar vehicle, may require around 6 quarts, while a full-size truck like a Toyota Tundra would require 8. In other words, the bigger the engine, the more oil the vehicle will need.
So, the first thing you’re going to want to do is figure out how much motor oil you will need or whether you’ll want any additives for your motor oil. Luckily, your local automotive parts stores can help you with this, and find this information for you, in addition to answering any other questions you may have regarding motor oils. They will also help you to figure out which oil viscosity is best for your vehicle, as this can vary depending on your vehicle’s make, mileage, your driving habits, and outside temperature, among other factors.
The Benefits of Changing Your Own Oil
There are several benefits to doing your oil change at home, and once most people establish this habit, they will never see the inside of another Walmart oil change center again. Aside from being the cheapest oil change possible, the DIY oil change gives you increased control over your vehicle’s maintenance, saves you time, and lengthens your car’s lifetime significantly.
DIY Oil Changes Are Cost-effective
If one of the things that kept you from getting more regular oil changes was the price of oil change, you can rest assured that an oil change at home will save you money. If we compare the cost of a DIY oil change vs dealer oil changes, for example, we can see the huge savings it affords. For example, the average Honda oil change at a dealer could be well over $100, but when we look at what the oil, filter, and a little bit of time costs us, it could be as little as $20.
DIY Oil Changes Give You Customization and control
You get to decide exactly which motor oils you use in your vehicles and what oil filters are best – without anyone trying to upsell you or render unnecessary services to drive your bill up. Whether it’s winter and you want a lighter weight oil for the cold or you have a high mileage vehicle and want to use specialty oil, it’s your choice.
DIY Oil Changes Save You Time
Not only does it take less time to change your own oil, but you can do it at your own convenience, regardless of business hours. Rather than having to wait to get into a Jiffy Lube oil change or schedule an appointment at a shop, imagine being able to pop out to the garage after dinner and change your own oil in a half an hour. No lines, no dusty waiting rooms, no wasting your time.
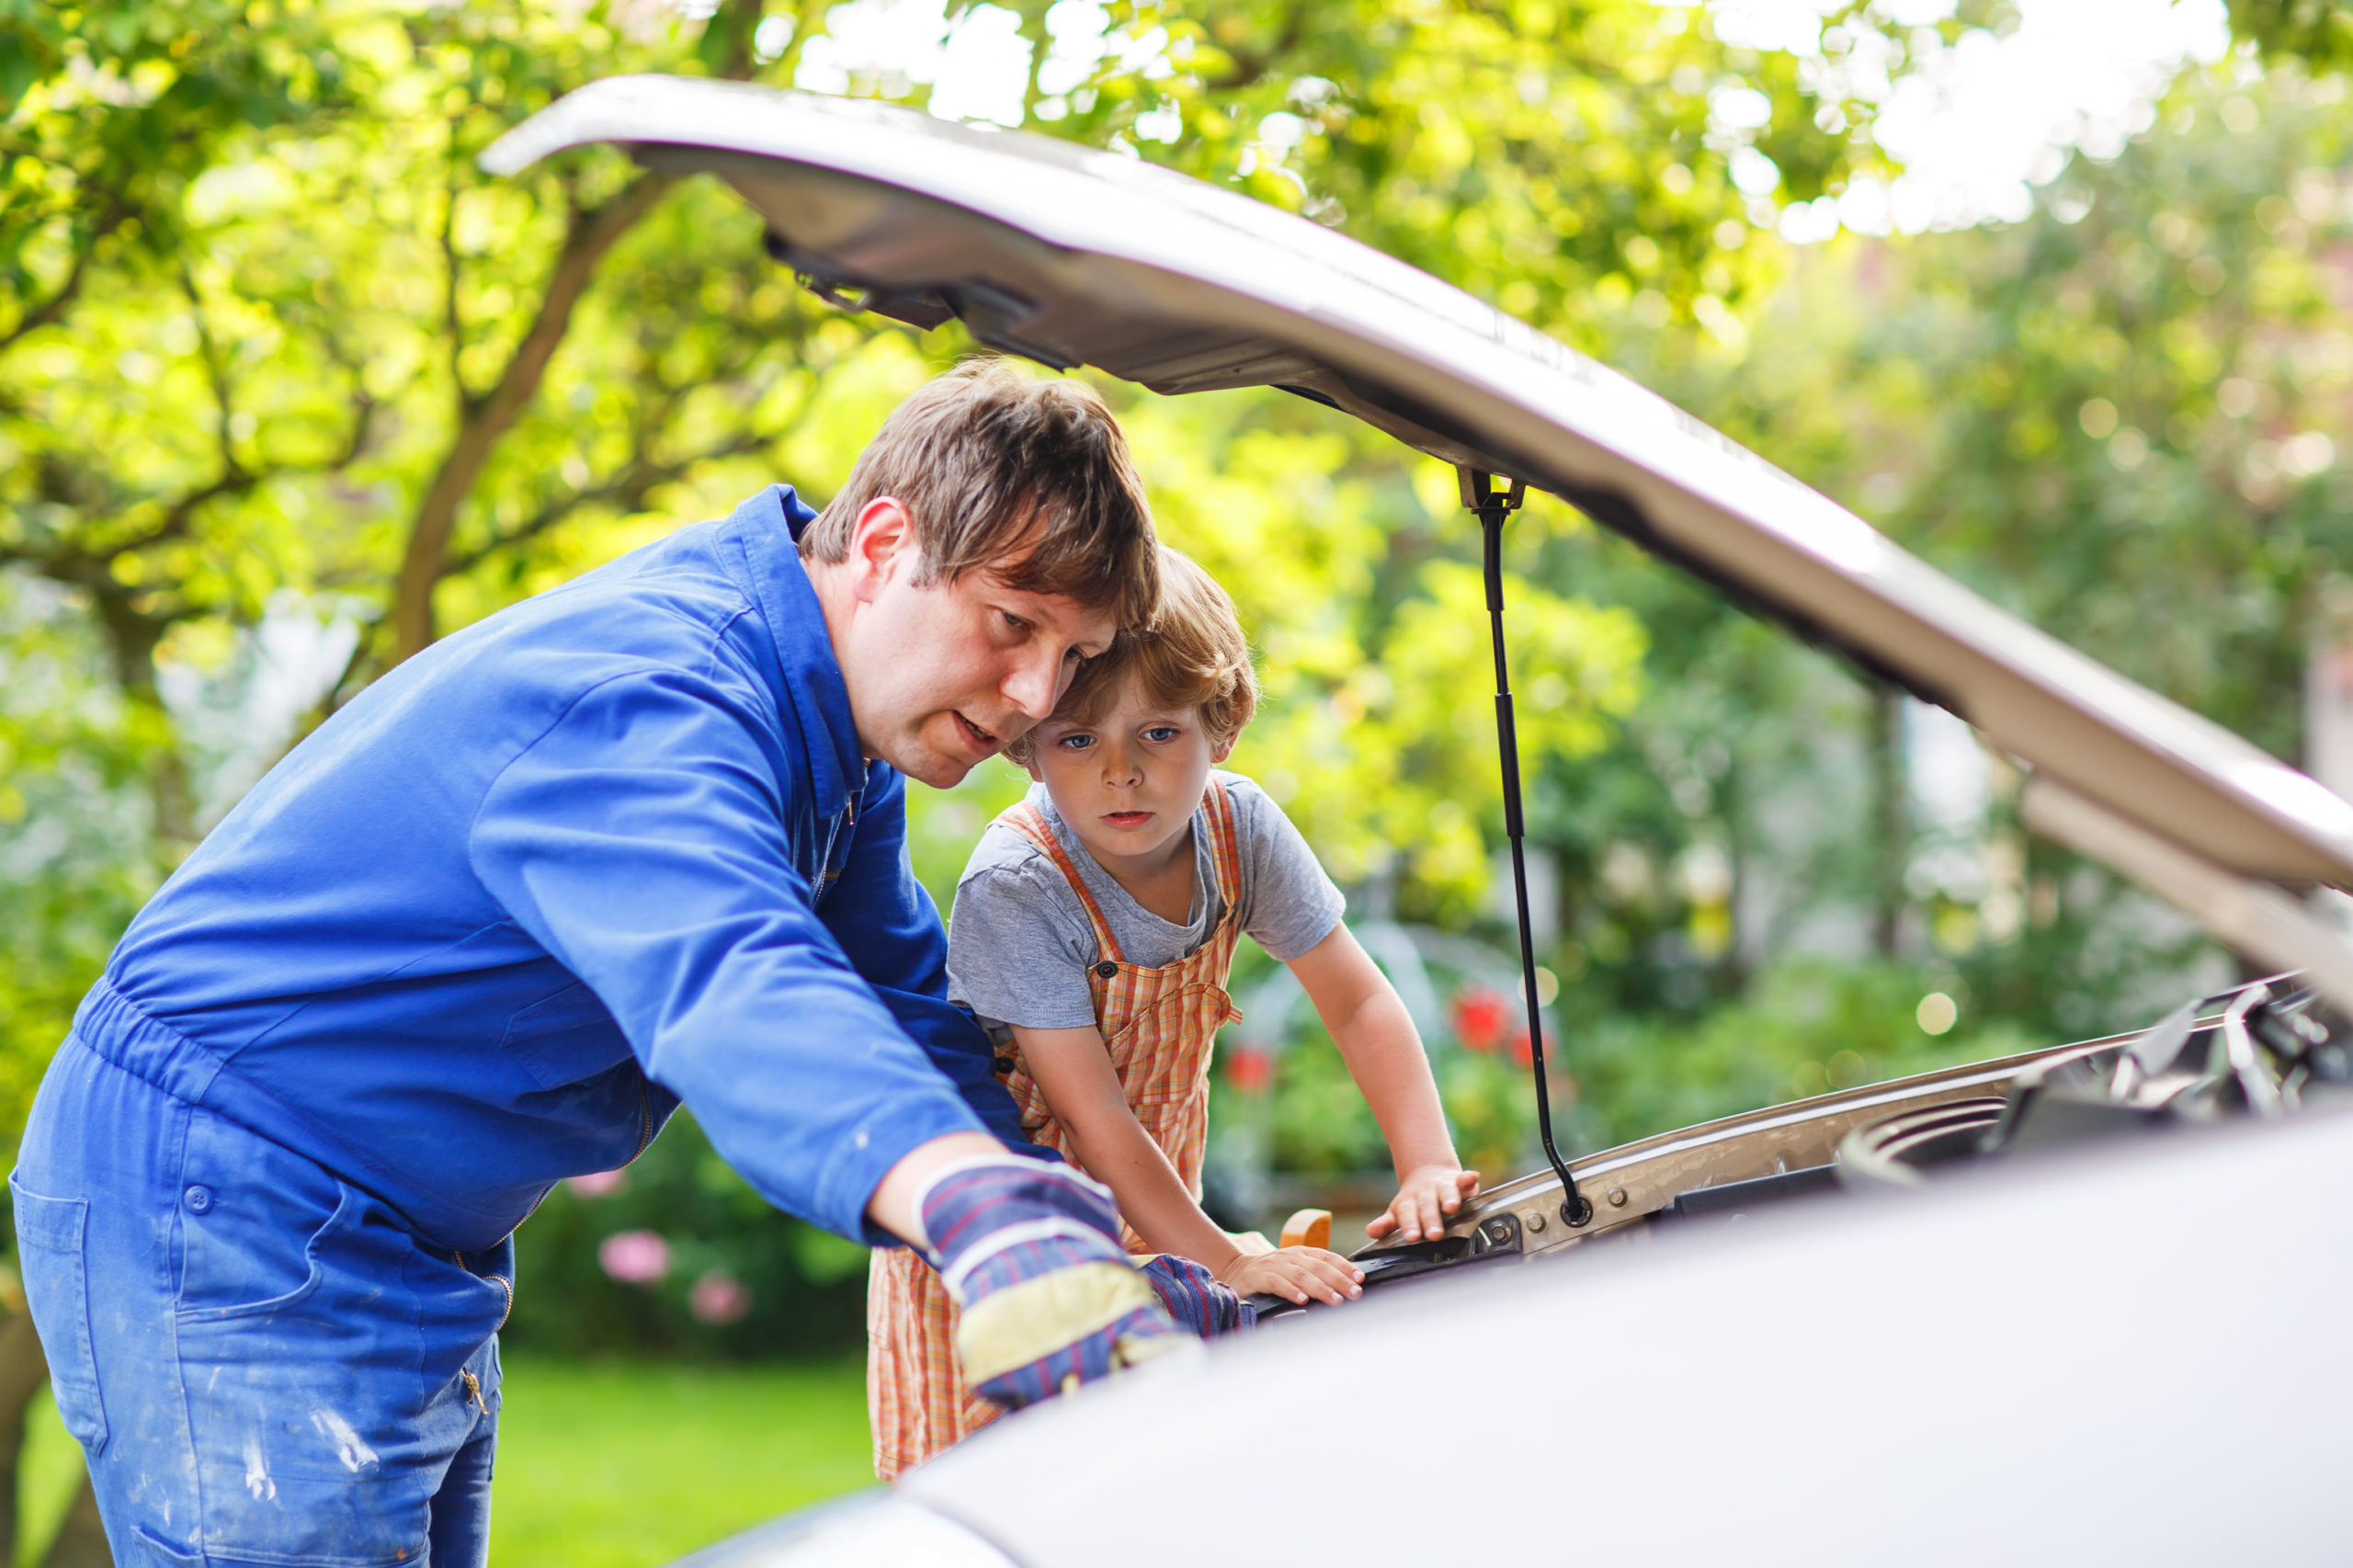
DIY Oil Changes Help You Better Understand Your Vehicle
This is perhaps the biggest benefit car owners receive personally from doing their own oil changes at home. Aside from the satisfaction of learning how to do really important basic maintenance on your vehicle, it affords you the ability to better understand how the vehicle works and is running, overall. Being under the hood is also a great way to make sure there aren’t any other issues that need tending to, such as low fluids, cracked hoses, or corroded battery terminals. Staying on top of these kinds of things can (and do) add years to the life of any vehicle.
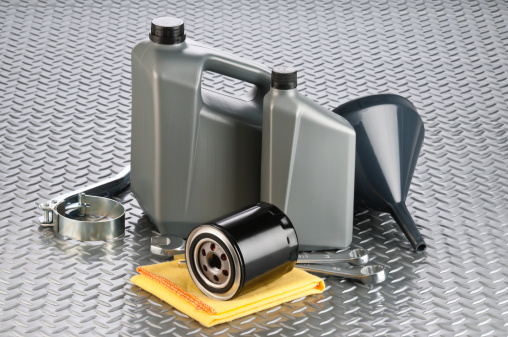
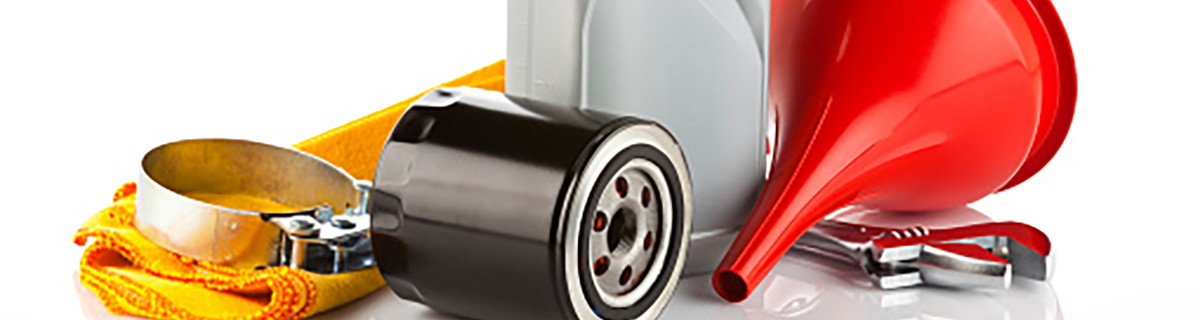
Supplies You Need to Change Your Own Oil at Home
While motor oil and an oil filter will need to be purchased for every DIY engine oil change, the rest of these supplies are one-time purchases, if you don’t already happen to have them at home.
Motor Oil
Deciding which engine oil is right for your vehicle is the first step in the process. Motor oils come in many different weights and compositions, so it’s important to use the right one. Some motor oil has additives, for example, to increase performance, or might be specifically formulated for high-mileage vehicles. Choosing the right one for your vehicle is really important, and something that your local auto parts shops can help with.

Oil Filter
Usually, with every oil change, the oil filter needs to be changed, too. Oil filters do their job by removing any impurities that the oil accumulates as it runs through your vehicle. When they become clogged from use, it results in decreased engine performance, which is never good. Even if the oil in your engine is brand new, it won’t matter if your filter is clogged and not functioning properly. The owner’s manual of your vehicle can tell you exactly which filter number you’ll need. There are many brands to choose from, too. If you’re considering premium filters, for example, you can ask your local parts shop whether a K&N vs Fram oil filter would be the right choice for you.
Shop for deals on oil filters and other car care products.
Oil Filter Pliers or Wrench
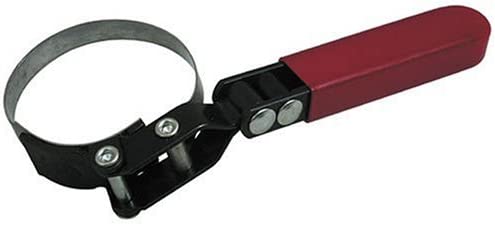
Most oil filters can’t be removed manually, so you’ll need a special wrench, or oil filter pliers, to remove the old one. This one-time purchase will be a life-saver in your DIY oil change process.
We recommend this Lisle Large Swivel Grip Oil Filter Wrench from AutoBarn.
Oil Drain Pan
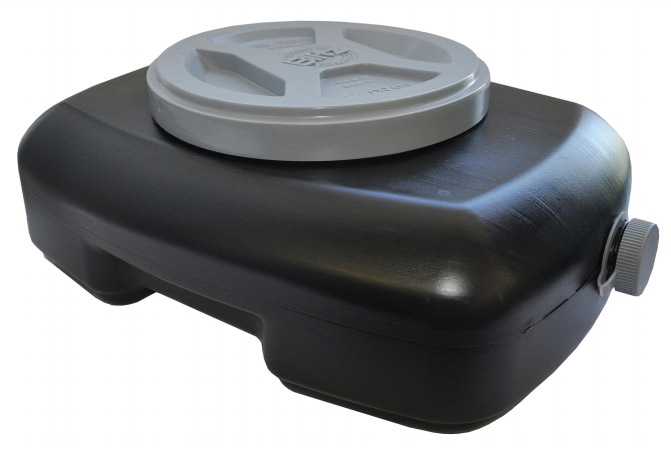
You’ll need somewhere to drain the old oil from your vehicle, safely. Having an oil drain pan on hand is a must for any oil change at home. It also comes in handy when you need to transport your used oil to the recycling center.
We recommend this 10 quart covered oil drain pan from Unbeatable Sale.
Funnel
Using a funnel to transfer the new oil into the engine will keep your driveway clear of spills and your engine clean of oil on the external surfaces.
Wrench (for removing the drain plug)
Either a (box end or socket) wrench will allow you to remove the drain plug from your oil pan on the underside of the vehicle.
Jack Stands or Ramps
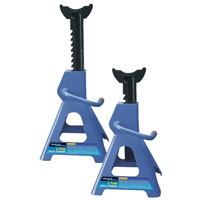
Most vehicles don’t have the clearance to get to the oil pan, so it’s generally necessary to elevate the front end to make it accessible. Most people use jack stands or ramps to achieve this, taking special care to stabilize the wheels of the vehicle with the emergency brake and/or blocks behind the rear wheels. If elevating the vehicle is not an option for you or if you want to cut out some steps in your DIY oil change process, you could also use an Oil Changer. Oil changers provide the huge benefit of not having to crawl around underneath your vehicle, which for many is very worth it.
We recommend these 3 ton jack stands at Unbeatable Sale.
How to Change Your Oil
To help take some of the guesswork out of your oil change at home, we’ve put together a step-by-step guide to walk you through the process. Your first DIY engine oil change may take about an hour to complete, but once you get the hang of it, you’ll probably be doing it in half the time. It’s really that simple!
Step 1: Assemble Your Tools and Supplies
It’s important to have everything on hand before you start, unless you happen to live next door to your favorite parts shop. So, be sure to gather all your oil, filter, and tools beforehand. If you’re unsure about what kind of oil and filter your vehicle requires, your owner’s manual can tell you the exact specifications. Local auto parts stores can also consult with you on any specialty oils or additives you may want to consider.
We recommend that you shop Pep Boys for deals on all the tools and supplies you need.
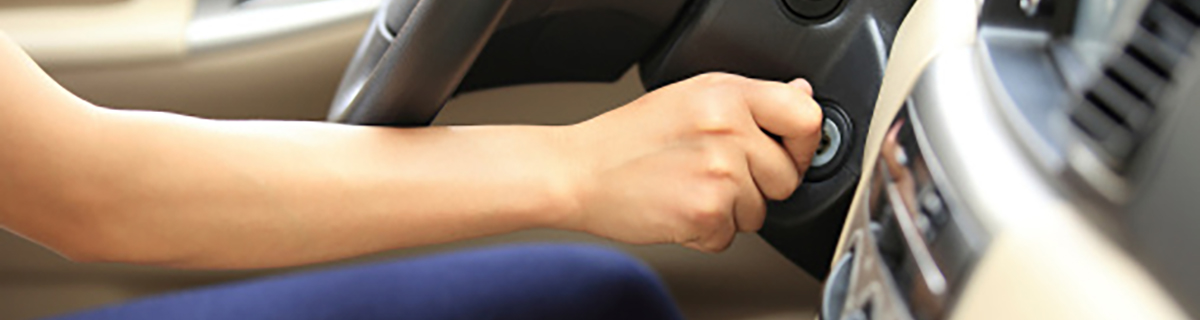
Step 2: Start Your Engine!
It’s better to start an oil change when the car has been running recently, so let it run for a few minutes, then cool down slightly before you begin. The old oil will drain more efficiently and completely this way.
Step 3: Elevate the Vehicle
After making sure the vehicle is parked on a flat spot and the hood is up, elevate the front end using your jack and jackstands or ramps. Be sure to set the emergency brake and block one of the rear wheels to keep it from slipping while elevated. Again, if using an Oil Changer, you get to skip this step.
Pro tip: If you remove the oil dipstick from the reservoir, the oil will drain better for you in the next step.
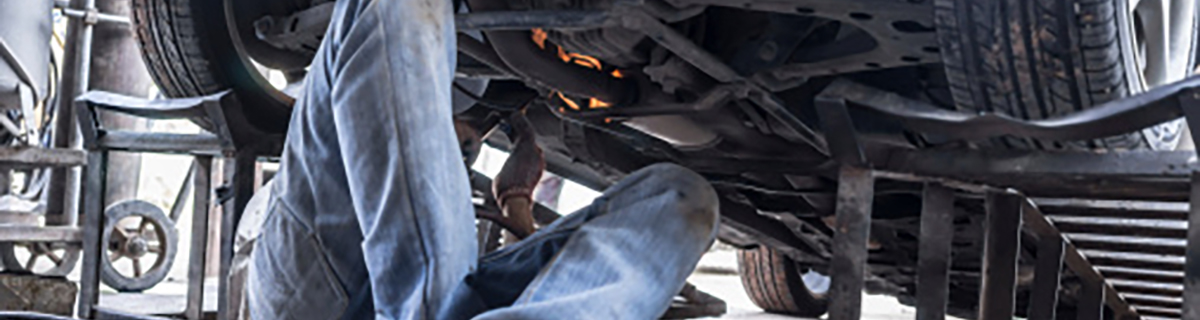
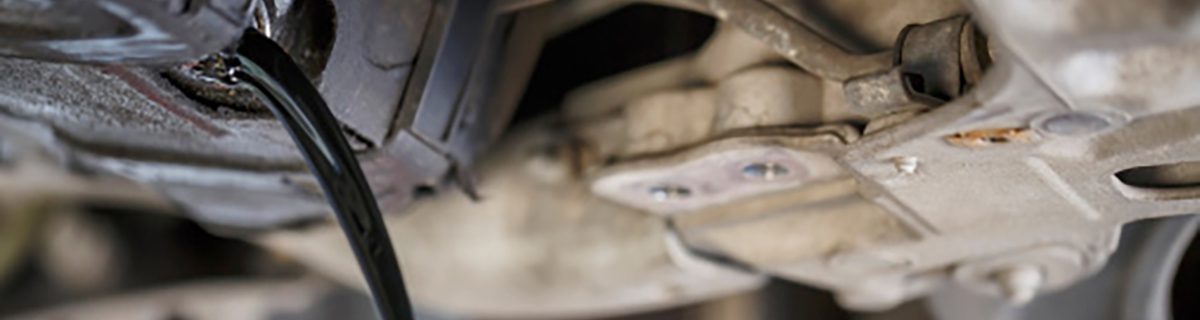
Step 4: Drain the Old Oil
Once you locate the drain plug, place the oil drain pan directly underneath it. Be sure your drain pan can hold the volume of oil in your vehicle, as it can really be moved once the oil begins to drain. Then, using the proper size wrench to loosen and remove the plug, drain the oil directly into the pan. Once the oil is completely drained, don’t forget to replace the drain plug, torquing it down to prevent any potential leaks.
Step 5: Replace the Oil Filter
Find the oil filter, and move the drain pan directly underneath it. There will still be some oil in the filter, so it’s best to avoid it spilling onto the pavement or onto yourself. Using the oil filter wrench, loosen and remove the old filter.
Remove the oil filter gasket and apply a thin layer of fresh oil to it for better contact. Make sure it’s in good shape still before reusing it.
You can install the new oil filter by hand, turning it clockwise a few rotations. Once it’s on, it can be tightened down to specification with the filter wrench.

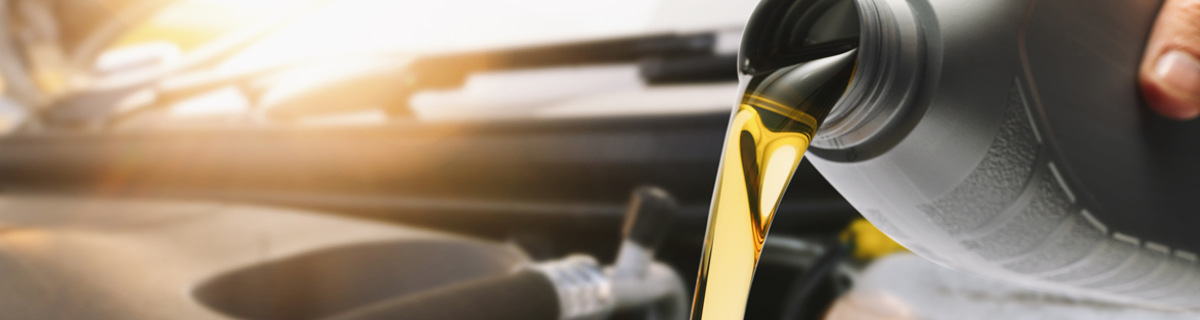
Step 6: Add the New Oil
Now it’s time to add the new oil. Using a funnel to avoid any spills, carefully pour in the specified number of quarts of oil. This is a good time to double check your drain plug for leaks as well.
Check out this Unbeatable Sale on Valvoline 10W40 All Climate Motor Oil
Step 7: Start Vehicle to Check Oil Levels
Once the oil is back in your vehicle and the oil cap is tightened down, you can start the engine and let it run for a few minutes. If your oil pressure light remains on, it could be a sign that you didn’t add enough oil or that something is leaking. It’s good to troubleshoot at this stage, rather than after getting all four tires back on the ground.
After that’s completed, you’ve officially performed your first DIY oil change! Just one final step to go.
How to Dispose of Used Oil
I changed my own oil. Now what?
One of the most important aspects of doing an oil change at home is disposing of the oil, properly and responsibly. Illegal disposal can do serious damage to the environment and can also lead to hefty fines, so it’s even more important to follow these rules.
Luckily, motor oil is recyclable and most auto part shops and service stations have a place to do so. It’s usually as easy as taking the full oil drain pan to your local shop and utilizing their recycling drums. Bring your used filter along with the oil since those are also recyclable as well.
DIY Car Care Saves Money and Gives a Sense of Pride
Now that you’ve seen how easy it is to do an oil change at home, we hope you’ll consider trying it! Not only does it save you money, but it can also save time and create a sense of accomplishment in doing your own vehicle maintenance.
We hope you also lean on your local shops to make the job even easier for you.
Our family team at Red Mountain Funding is here to help.
I’m a kid at heart disguised as an auto researcher and business owner. I’ve always enjoyed providing insight in the form of reviews (anime, video games, autos, etc.) When I’m not researching, I’m spending time with my family, driving my Dodge Challenger, riding my motorcycle, and finding new entrepreneurial pursuits.